How to take a nice self portrait or selfie!


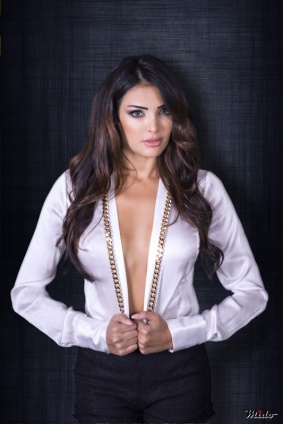
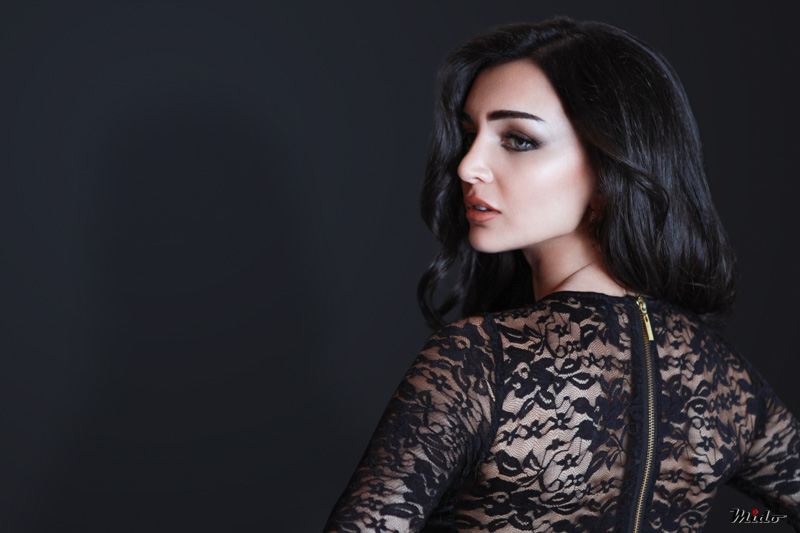
These days self portrait or selfie is quite necessary. Every social network you use asks you to upload a photo of you!

In my latest e-book “The Vision”, i talked a little bit about selfie. Download “the vision” ebook for free.


In my opinion self portrait is simply an exploration of self!.


self portrait


What Gear Will You Need for Self Portraits?

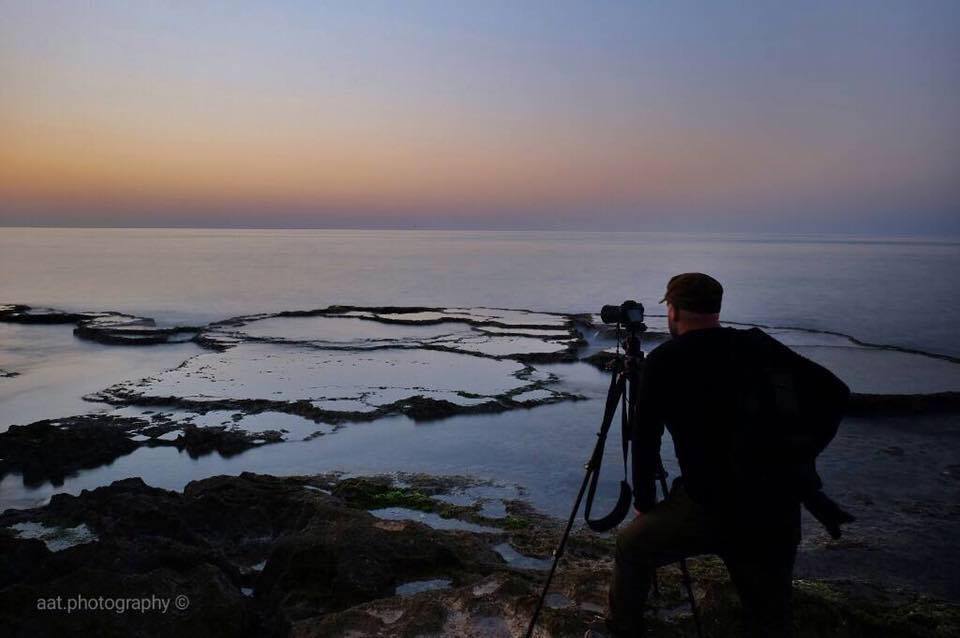
If you are interested in a self-portrait that is more than a classical one, you have to use the following items with a camera:

  • A tripod to put the camera on
  • A remote to click the shot from a distance also the self timer with 10 seconds can do the job, but i recommend a remote!
  • Lighting: from flashes to a regular lamp in your home! There are many ways to play around with light.
    • One idea: try using a flashlight in a dark room to focus on one element (your face, your hands, etc.).

With your phone: Sometimes all you have with you is your phone and you don’t want to take another arm-length selfie. No worries, there are tons of self-timer apps available to help you take better phone photos, download a few to find out which one you prefer, and try balancing your phone on a stable surface in front of you. Also don’t use the front-facing camera on the iPhone because it lowers the photo resolution. Always use the higher quality camera on the back of the phone. OR use a selfie stick… some apps remove the selfie stick from your photo!


“Try to have a vision before you start!”


Creating a Composite Self Portrait in Photoshop

That’s my favorite!

Shooting your self in a location and add something to the shot in post editing ( i use Adobe Photoshop ).

Experiment with photo editing and make the most of your photos!


Selfie2 from the vision book

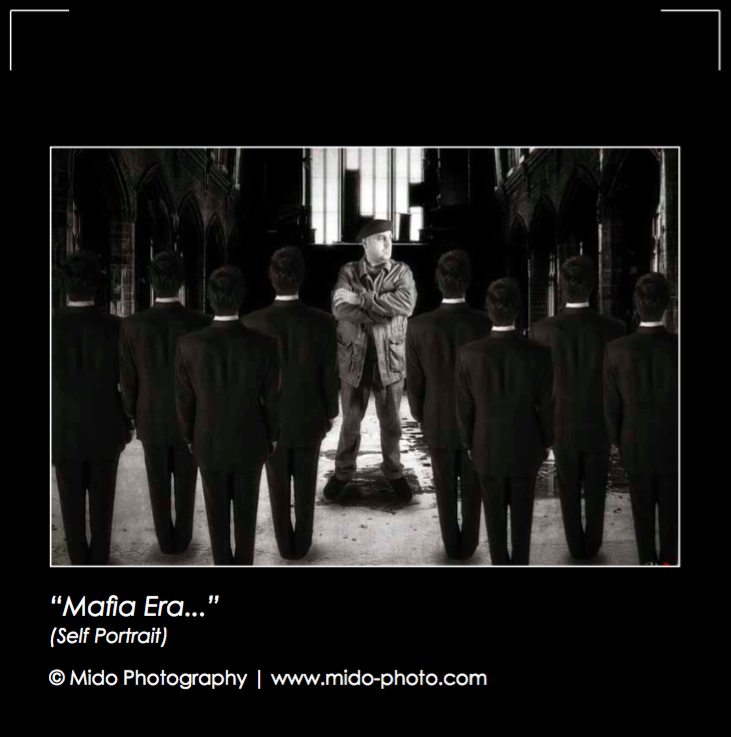
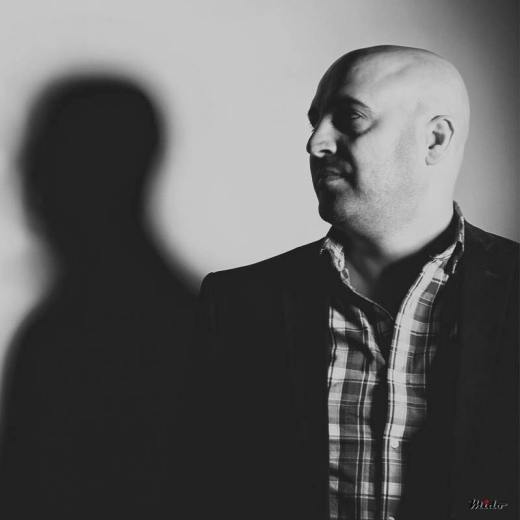
Photo capture from “The Vision” e-book

Tips


  • Don’t force emotion!
    The camera never lies. Relax and be yourself.
  • Let it tell a story!
    A self portrait is a quick look into your mind. Think about how you want to convey a message of who you really are.
  • Learn from your mistakes!
    Review each photo and see what you can do better. Look at the light, emotion, does it convey the message or story. Change what doesn’t work and be critical.
  • Get creative!
    Composition is everything. Try new angles, try new crops, photography is art so think about ways in which you can mix things up.
  • Watch your background!
    You background is almost as important as you are in the self portrait. If it doesn’t relate to your story use a shallow depth of field to blur it out or change where you are shooting.
  • Try to overexpose/underexpose your photo!
  • Don’t always look directly at the camera!
    Look down, look up, look off camera or turn your back to the camera. It adds variety to your photos, and also gives you a chance to show of different angles of your outfit.  Not looking directly at the camera gives photos a more candid feel. It can make you look more natural, rather than posed and rigidly looking into a camera lens.
  • Remember, you can look at what you have and take more shots!
    Check the angle and lighting and find the most flattering position. I like to sit facing a window when I take photos (with the flash turned off). window light can be really nice on the skin.


How to get ready for a studio photoshoot!

First, think about what message you would like to put in your shooting…

Is there a specific theme or idea in mind? discuss it with the photographer first.

Do you want to be smiling or do you want to be moody and emotional?

Tip: Look at your past photos and see what works well on your body!

Now let us move on after selecting the theme or mood in the photoshoot to the details:

  • Clothes: First question: what should i wear? Make a good selection of clothes…
    • I always recommend to bring along a number of different outfits in various styles and colours.
    • All you intend to wear should be laid out, clean and ironed. wrinkle-free clothing will help make your photo much more professional.
    • No florals, or large busy prints. Plain colours are best.
    • Don’t wear tight clothes or bra prior to photoshoot since they leave strap marks and take a while to go away.
    • Accessories are the secret ingredient… I am sure you have enough accessories in your closet for this. Bracelets, hair clips, hats, rings, belts, glasses, earrings, etc…
    • Shoes: Think smart, what can suit many dresses, always bring both flat and heels.
  • Posing: Practice different poses in the mirror at home – different faces (smiling, seductive, happy, etc…).
  • Hair: Check your hair! If it has been a while since you had a trim, now is the time.
    • Do NOT arrive to your shoot with wet hair.
    • Bring a hair brush along as the photographer will want to show your hair off with various looks.
    • bring a couple of hair clips or rubber bands to put your hair up or in a different style.
    • Body Hair: Be sure to take care of all hair removal 2-3 days before your shoot appointment. This time is necessary to allow for any skin irritation to disappear before your shoot.
  • Makeup: Come to the shoot mostly made up.
    • Bring plenty of makeup with you for touch up.
    • You will also need to use an unusual amount of powder on your skin to kill the white shining skin.
    • Lips: Avoid dry lips by putting Vaseline on your lips before bed and the morning of your photoshoot.
    • Eyebrows: Have your brows shaped.
    • Skin: Coconut Oil is great for keeping the skin glowing.
  • Nails: Take care of your nails. Be sure that your nails are neat and well maintained.
    • French manicure, light-pink, etc… look is preferable.
    • If you plan on posing barefoot, be sure your feet and toes are in good condition.
    • Be careful your nails colour does not detract from you and your face.
  • Perfume: If you wear perfume to the photoshoot (not recommended), make sure it’s very light. Photographers studios are not always large and strong perfume will overwhelm the photographer.

Do NOT forget to:

  • Eat: Eat something light before the photo shoot so you’re not hungry during the shoot. you will look better, be more focused and have the energy throughout the shoot.
    • Water: drink plenty of water starting a week in advance of your photoshoot. This will hydrate your skin.
  • Rest: Get plenty of rest the night before the photoshoot. your energy will shine through in each pose!
  • Music: Bring your own CD. The music you like to listen to will help you relax.
  • Be on time 🙂

Do I need to get permission from the people in my photos?

Hello

We can have many answers on that specific and sensitive question:

  • Some photographers may feel uncomfortable with taking pictures in the streets, because it somehow feels like stealing (in their opinion)… They feel better if they first ask for permission.
  • Some photographers definitely not. Especially in the context of Street Photography where you want to show street life and unposed portraits because through a candid portrait, you are able to dive much deeper into who that person really is, rather than what they are trying to show themselves as.

The General Rule: As long as you’re in a public location (the road or sidewalk), you can legally take almost any picture. On private property (e.g. in shopping malls, stores, theaters, hotels and sports arenas) you need the permission of the property owner to take photographs. While the act of photography itself in such areas isn’t illegal, if asked to stop taking pictures and leave you must do so.

Istanbul Boy

Nobody has the right to require you to delete images you have taken and only the police can require that you show them the pictures in your camera – and even that requires a search warrant unless you give them permission.

BUT…

You may face some exceptions to the above generalisation…

An expectation of privacy: For example, if you’re shooting from a public street into someone’s bedroom, you may be crossing an ethical and even legal line. Shooting under public bathroom stalls or up the skirts of passersby is also likely to get you into trouble.

Your equipments: In public streets and sidewalks — may be subject to restrictions especially tripods, supplemental lighting, reflectors, etc… If your setup is likely to disrupt the general flow of traffic, or cause an obstacle for pedestrians.

Robinson

Now since you had the right to photograph a subject or scene, generally speaking, you also have the authority to display the photograph on your blog, website, social media platforms, in print, in news media. You can even sell prints or digital copies of your street photography.

If you are using your shots for a commercial purpose, such as for an advertising campaign, you should obtain a model release form signed by the subjects you are photographing to ensure you have authorisation to use their image to sell a product.

What is a model release?

Having a signed release gives you permission to publish or use the photograph in some form. In signing, the model is agreeing to have their image promote a commercial purpose and that protects you from liability based on future usage of the photo.

Releases can also inform the model that the photo is your property and allow you to be the recipient of profits from the image through allowing you to sell more freely.

Keep in mind

“Security” is often given as the reason somebody doesn’t want you to take photos, it’s rarely valid. Taking a photo of a publicly visible subject does not constitute terrorism.

If you are challenged, you do not have to explain why you are taking pictures, nor to you have to disclose your identity (except in some cases when questioned by a law enforcement officer.)

If someone tries to confiscate your camera, you don’t have to give it to them. If they take it by force or threaten you, they can be liable for things like theft. Even law enforcement officers need a court order.

Now if you ask me if i ask permission from people in my photos, may answer is absolutely NO.

Damascus


How to look good in your photos

People describe themselves as “photogenic” and some “not that much!” but the truth is that a lot has to do on how you react to the camera.

Now with Facebook, Twitter, Instagram and other social media platforms, your photos will be seen immediately by your friends, family, and the world at large.

Here’s a secret: Those models and selfie queens who look incredible in photos aren’t necessarily the most beautiful… What they are is: skilled!

I will give you some posing tips that will really make a difference to your photos…

1- Learn to stand right in front of the camera: How you stand can instantly add or subtract 5+ kg. Standing straight in front of the camera can make you look frumpy. Standing at a 3/4 turn or even with your body to the side will cut your size in almost half, you’ll create an instant slimming effect!

Try the “red carpet” pose: put your hand on your hip, angle your body to the side and turn your head towards the camera. It’s a cliché, but it really does work to help you look slimmer.

2- Face your mirror: When in doubt, practice! Stand in front of that mirror and smile, smile, smile. The best way to find out your best angle or smile is to practice. Decide what positions you look best in.

  • Decide if your right or left side looks the best. Our faces aren’t completely symmetrical, so one side generally looks better than the other.

It may sound strange, but it works! We all have a good angle, you just have to find yours and then work with it.

3-Tilt your head: When you look at the camera, don’t look straight at the camera. Look slightly above or slightly below. Then, tilt your head up or down slightly.

  • To get a stronger jawline and reduce the likelihood of a double chin, tilt your chin down. It will help you look great.

4-Help Your Eyes Be Seen: It is important to use an eyeliner to define your eye shape, otherwise you tend to lose the eyes in the photo.Curled lashes and mascara are musts!

5-Lighten your lips: Avoid dark and brown lipsticks, which can look like, well, the kiss of death in photos ( unless you are going for a specific theme like gothic ). Instead, opt for a warm pinky rose or peach. Matte or slightly shimmery is best. A super-glossy finish can make lips look drippy or waxy. If you’re not a pink- or red-lip kind of girl, then even using a neutral hue will help.

6-Your hair: The first thing to remember is that hair sitting on the shoulders looks terrible.Make sure your hair is shiny. Spray-on shine is great for a last minute add-on shine!
There are five different things that you can do with your hair:

  1. Hair all behind the shoulders.
  2. Hair all in front of the shoulders
  3. Hair all on one side.
  4. Hair all on the other side.
  5. Hair up.

7-Blush: Blush is a must! Without some color on your cheeks, your face can look flat in photos.

8-Do something with your hands: If you’re standing, place the hand closest to the camera on your hip; this adds definition to your upper arm. If you’re sitting, clasp your hands in front of you so your arms form a soft arc.

daniella11        daniella43         nancy12